Writing your first program in Dev C++
Note: Note that the same steps, given below, are followed to write/compile/run a C/C++ program in Windows Vista or Windows 7 as well.
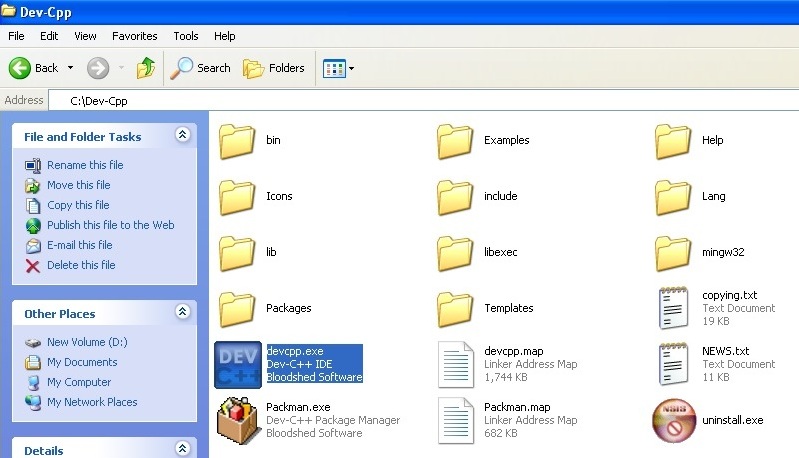
Step 1:
Starting the Dev C++ Compiler
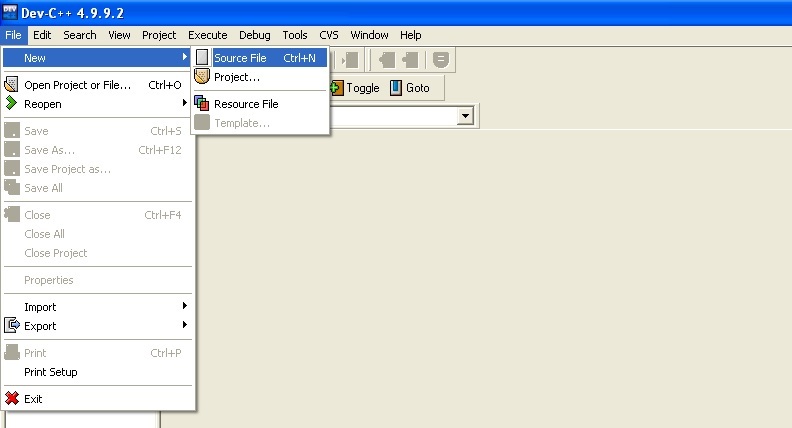
Step 2:
Opening a new file, source file
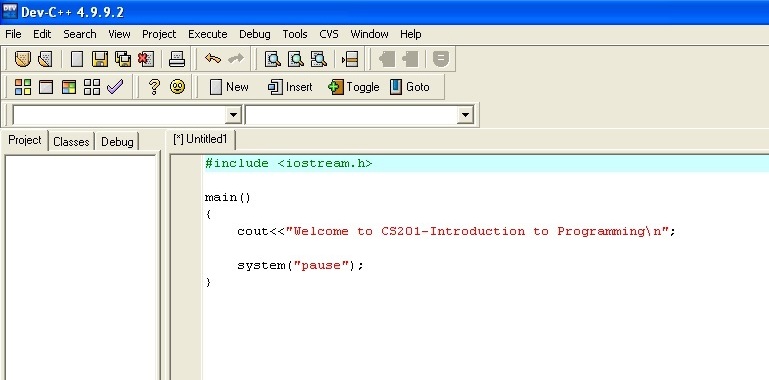
Step 3:
Writing the code of your program
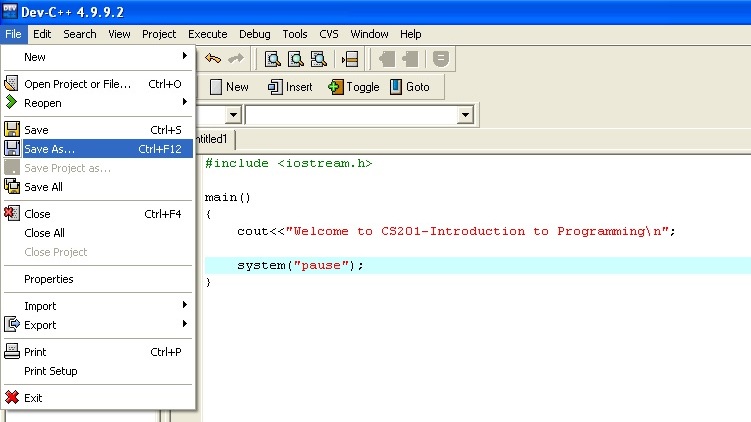
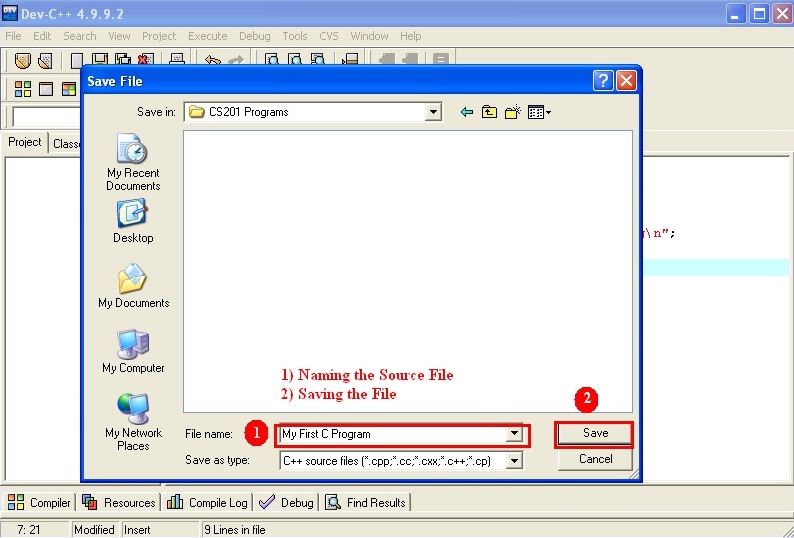
Step 4:
To Save the file, after naming the file, click on Save button
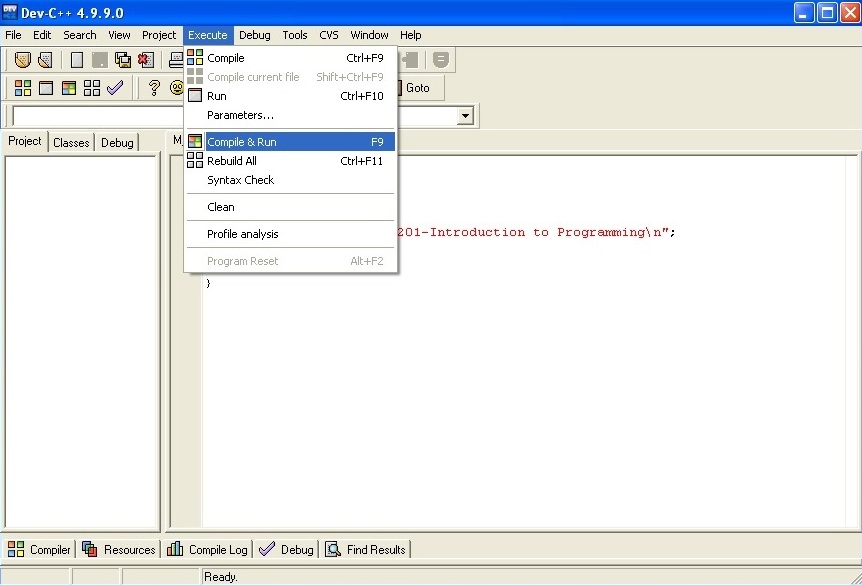
Step 5:
To execute the program, click on compile & Run the program
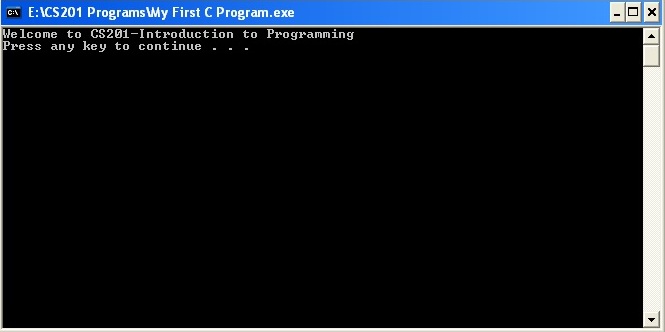
Output
After the above program is executed, the output can be seen as given below.
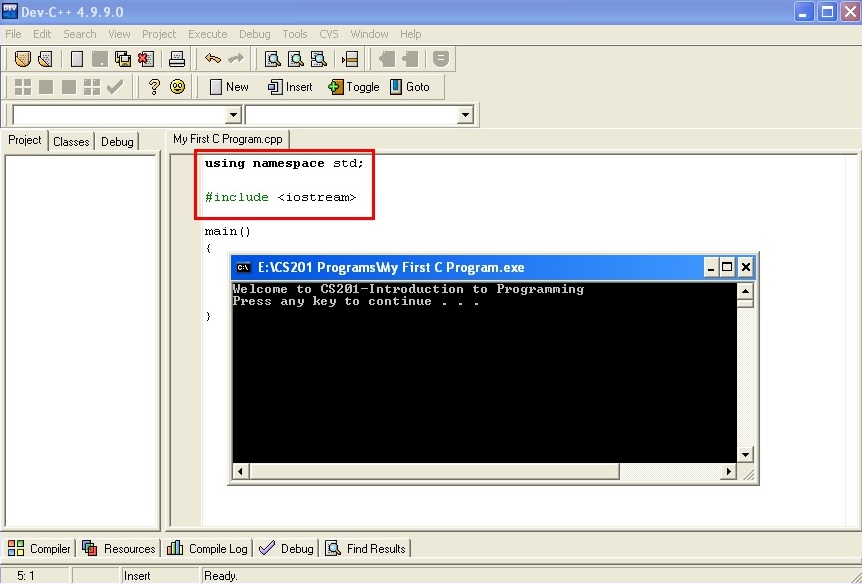
Important Note:
Note that when a program is successfully compiled in Dev C++ version 4.9.9.0 and version 4.9.9.2, a header file warning is displayed at the bottom of the as can be seen in the screenshot.

The highlighted red box shows the warning generated after the successful compilation. Do not get confused with it as it is not any kind of error and your program will run successfully even if this warning is in the program.
How to remove the header file warning?
To remove the above warning, declare the header file as #include<iostream> and also write the statement using namespace std; at the beginning of your program code. Below is the screenshot to do this.